

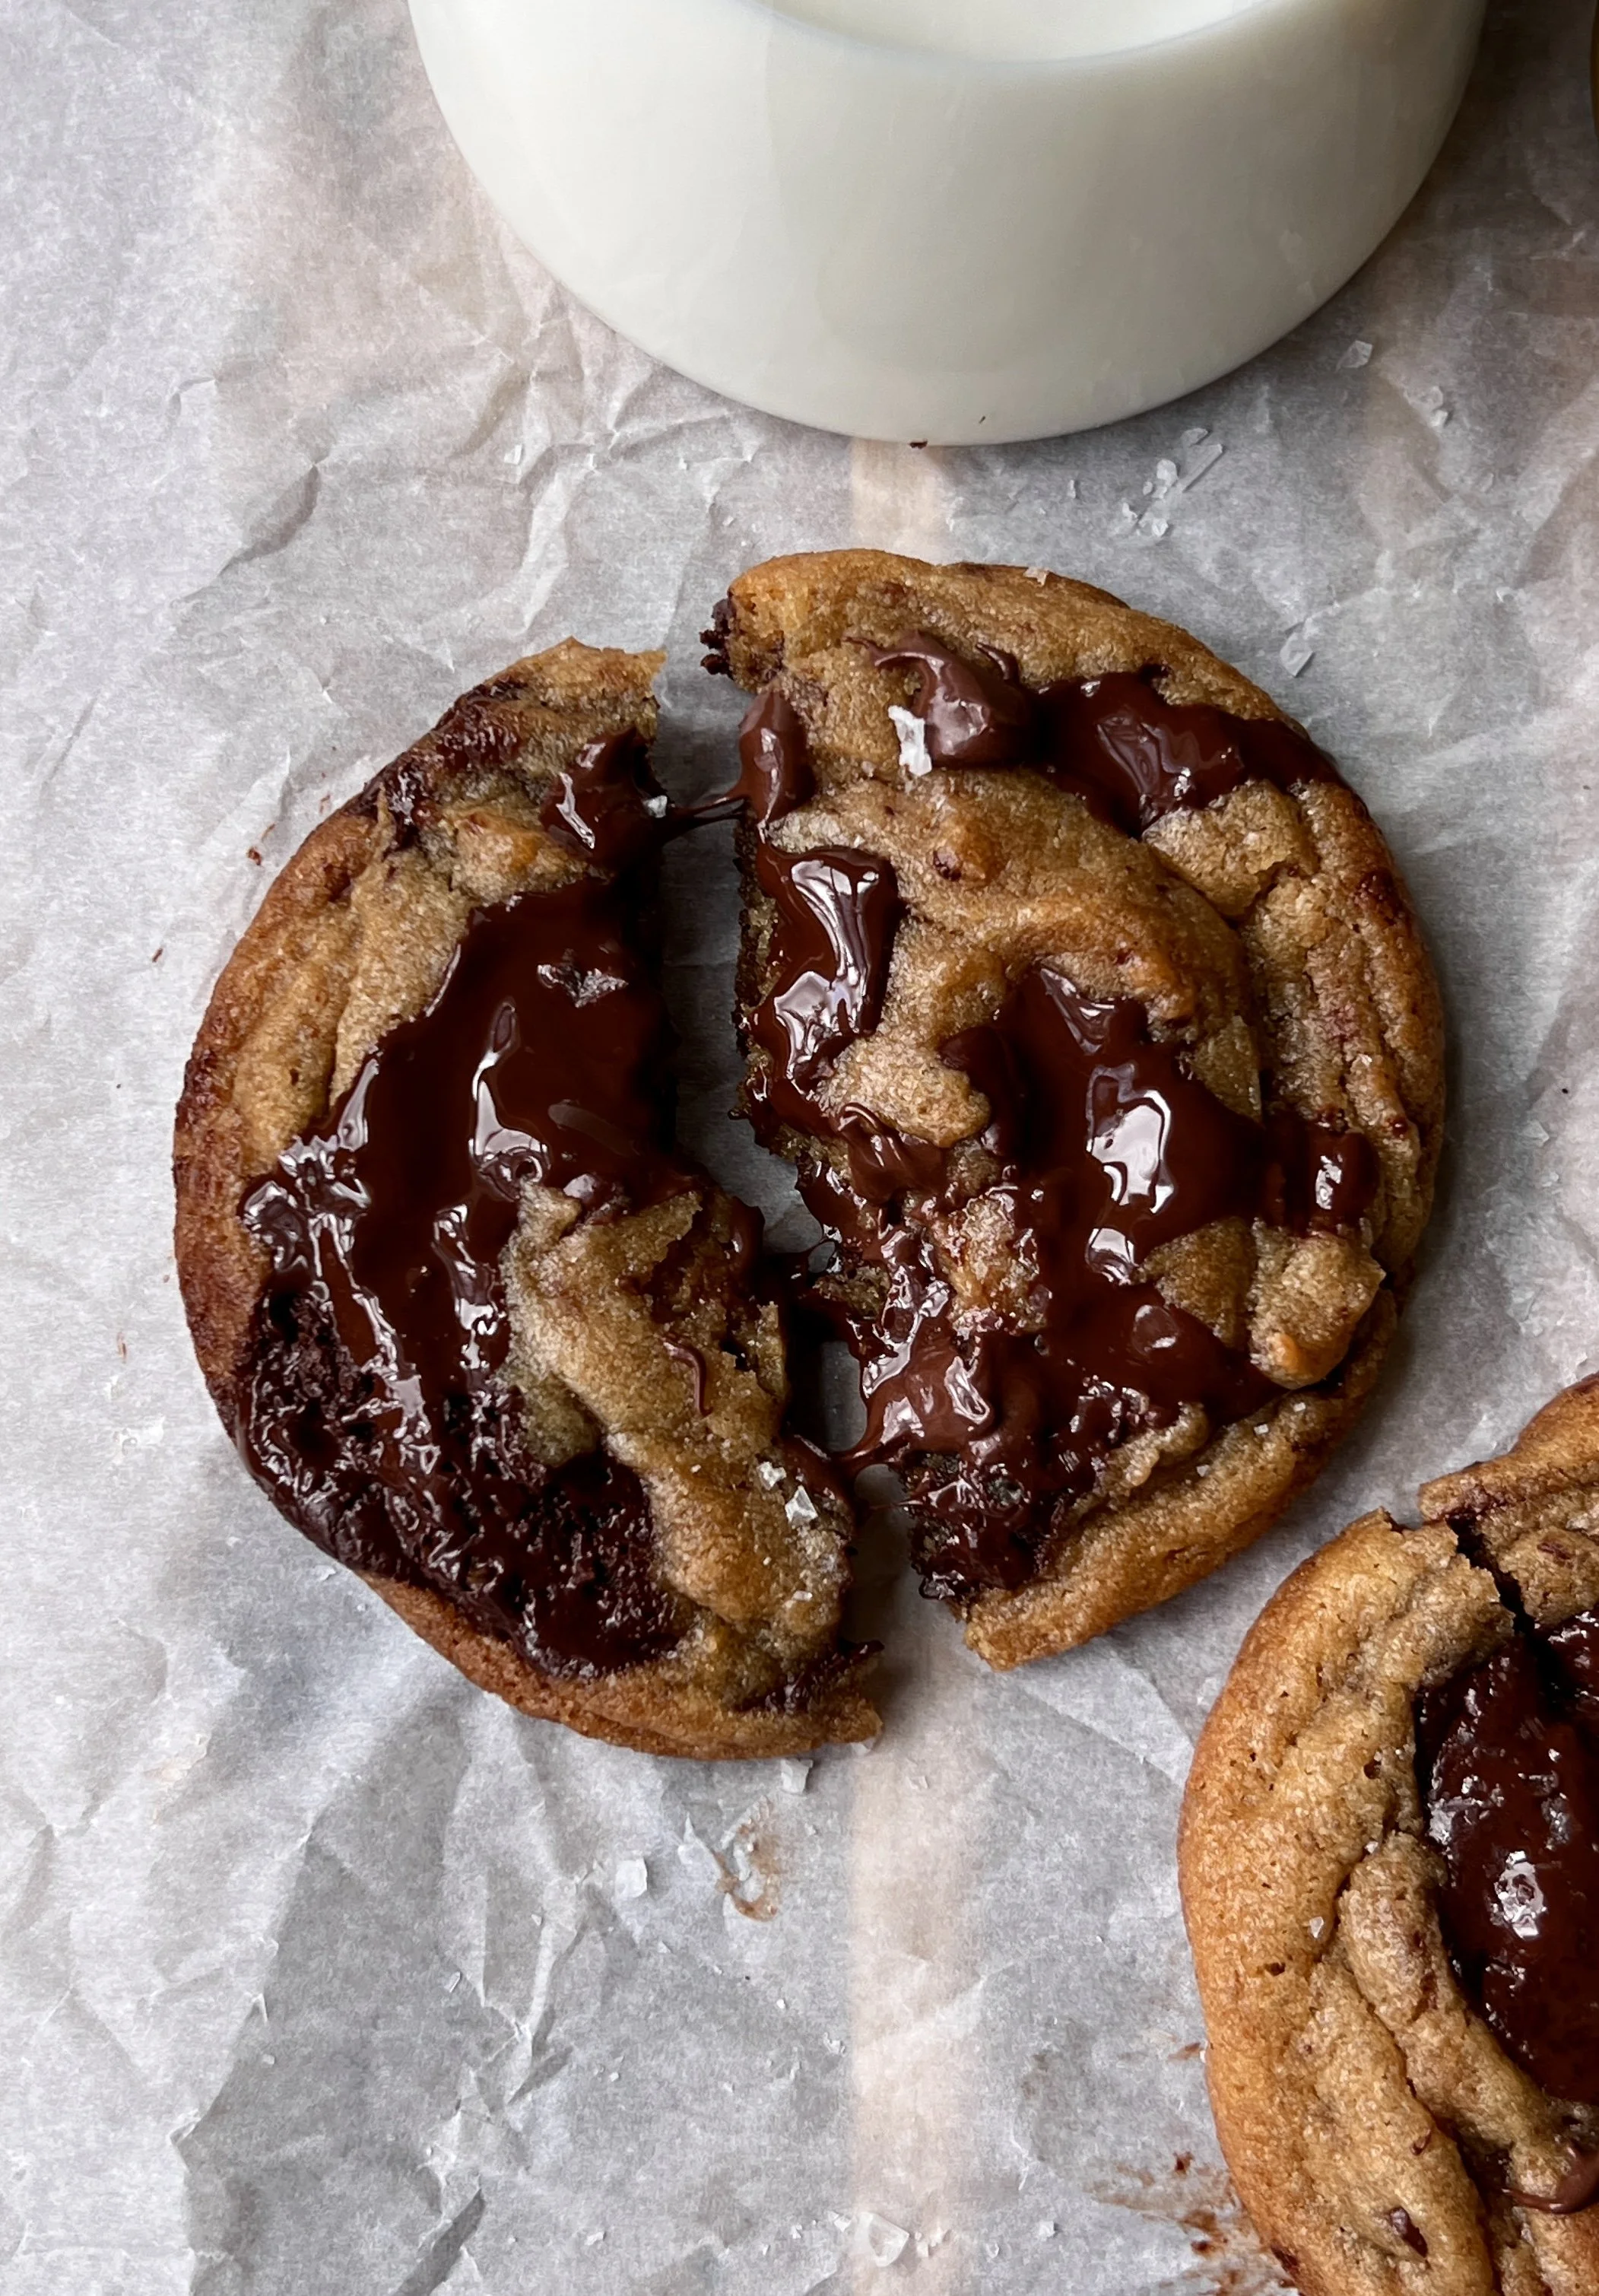
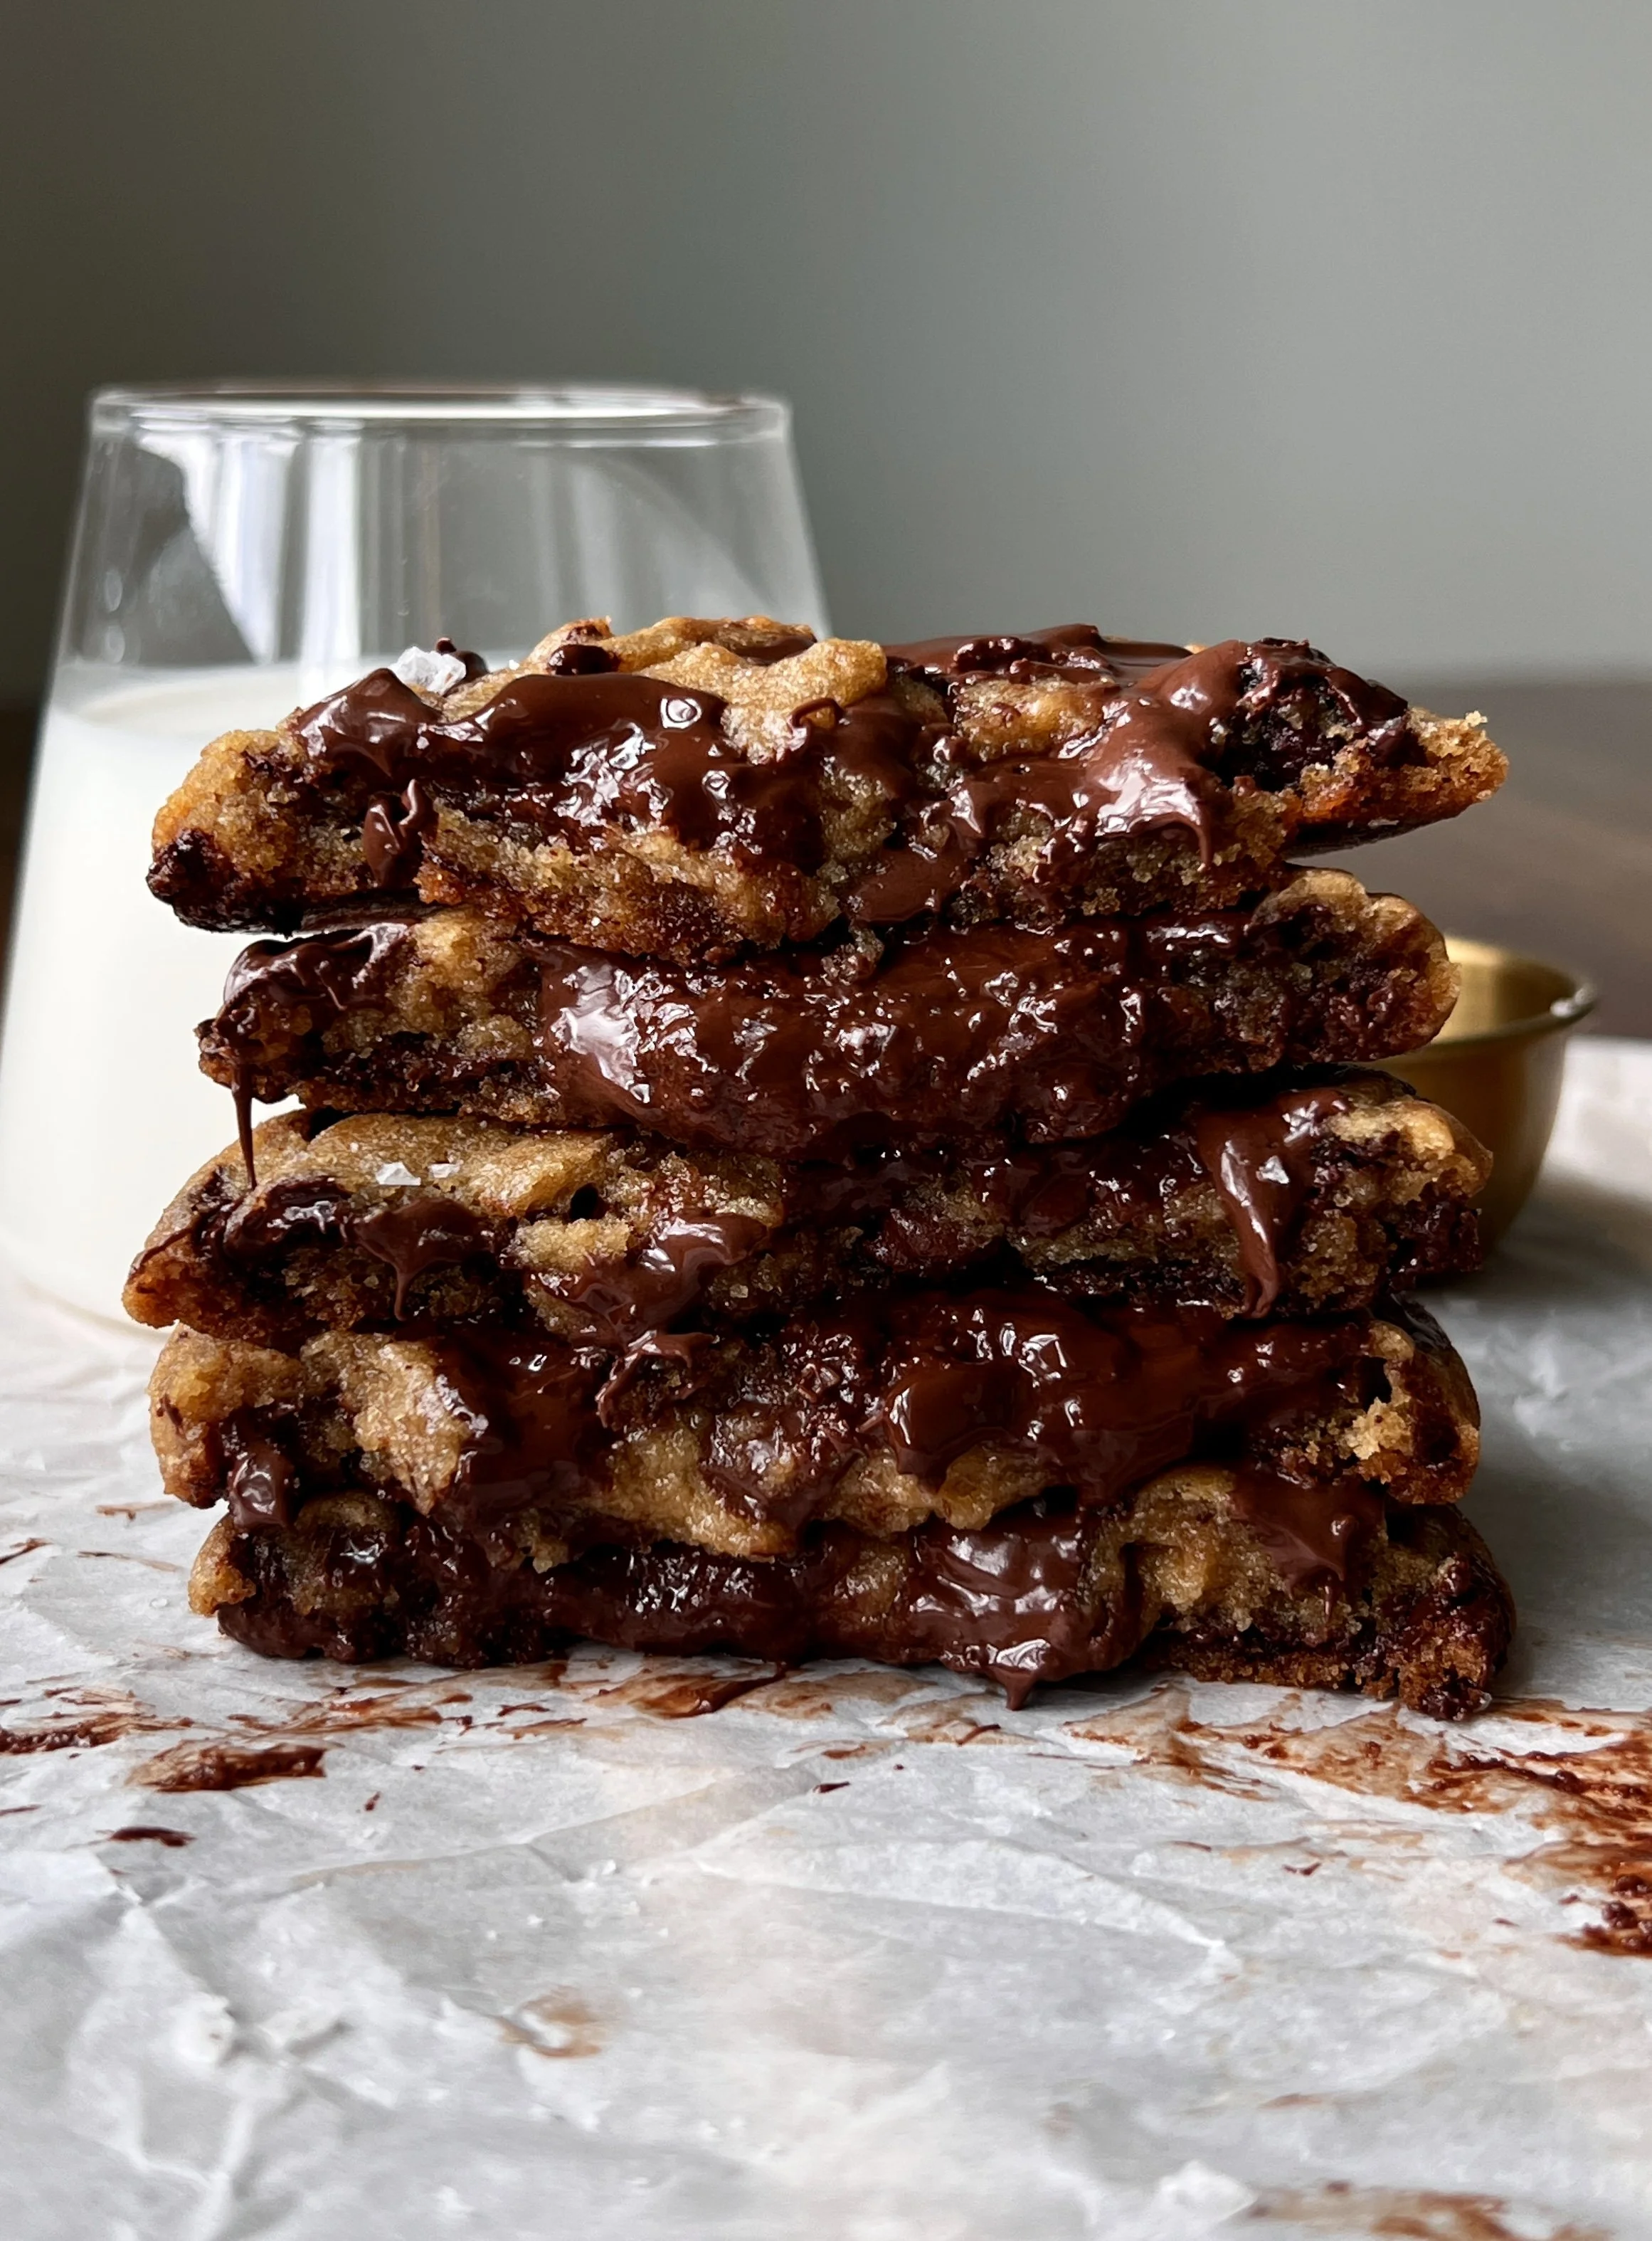
Brown Butter Chocolate Chip Cookies
These Brown Butter Chocolate Chip Cookies are soft and gooey in the middle with rich pools of melted chocolate, surrounded by golden, crinkly edges that are slightly chewy for the perfect bite. The brown butter brings a warm, toasty nuttiness that elevates the classic chocolate chip flavor. Serve them warm with a sprinkle of flaky sea salt and a cold glass of milk for an indulgent, bakery-style treat right at home.

If you try out this recipe, I’d love to see it! Leave a comment with a star rating below and tag @wellmadebykiley on Instagram and hashtag it #wellmadebykiley
Ingredients You Need:
Full ingredients and recipe are in the recipe card below. Read through this section for all the ingredients substitution and baking tips!
Salted butter
Light brown sugar
Granulated sugar
Eggs
Heavy cream
Vanilla bean paste extract
All-purpose flour
Baking soda
Baking powder
Salt
Semi-sweet or dark chocolate chips or chopped chocolate
Flaky sea salt, for serving
Why You’ll Love Brown Butter Chocolate Chip Cookies:
Soft and Gooey Centers: Each bite is rich and chocolatey with a soft, melt-in-your-mouth middle.
Crisp, Chewy Edges: The perfect contrast to the gooey center, with just the right amount of chew.
Deep, Nutty Flavor: Brown butter adds a toasty, caramelized note that takes them beyond classic cookies.
Pools of Melty Chocolate: Not just chocolate chips—these have irresistible puddles of melted chocolate throughout.
Golden, Crinkly Tops: Beautiful bakery-style texture and appearance in every batch.
Flaky Sea Salt Finish: A sprinkle of salt enhances the sweetness and balances the flavors.
Perfect Fresh Out of the Oven: Best enjoyed warm when the chocolate is still soft and the aroma is irresistible.
Simple Ingredients, Big Flavor: Made with pantry staples, yet the flavor feels gourmet.
Versatile for Any Occasion: Perfect for everyday baking, parties, gifting, or holidays.
Pairs Perfectly with Milk: Classic and comforting—ideal for dunking or sipping alongside.
Freezer-Friendly Dough: Make ahead and bake fresh cookies on demand.
Crowd-Pleasing Favorite: A guaranteed hit with both kids and adults.

Tips for Making Brown Butter Chocolate Chip Cookies:
Cool the Brown Butter: After browning, let the butter cool to room temperature before mixing with the sugars. This prevents melting the sugars too early, which can cause the cookies to spread too much.
Add Heavy Cream: Stirring in heavy cream after browning the butter helps restore the moisture lost in the browning process, ensuring the cookies stay soft and chewy instead of dry.
Measure Flour Accurately: Weigh your flour for best results, as it’s far more accurate than scooping. If scooping, fluff the flour first, spoon it into your measuring cup, and level it off—never pack it in.
Chill the Dough: Refrigerate the dough for at least 4 hours, but ideally overnight, for maximum flavor development and better texture. Longer chilling also helps control spreading.
Use High-Quality Chocolate: Opt for a mix of chopped chocolate bars and chips for both gooey pools and structured bits.
Portion Evenly: Use a cookie scoop for uniform size, ensuring even baking and consistent texture.
Line Baking Sheets: Parchment paper or silicone baking mats help prevent sticking and promote even browning.
Don’t Overbake: Pull cookies from the oven when edges are set and centers still look slightly underdone—they’ll continue baking on the hot pan.
Rotate Your Pans: If baking multiple trays, swap their positions halfway through for even baking.
Sprinkle Sea Salt After Baking: Add flaky sea salt while cookies are still warm so it adheres without melting completely.
Cool Before Storing: Allow cookies to cool fully on a wire rack before placing in containers to prevent sogginess.
Use Room Temperature Eggs: This helps them incorporate more evenly into the dough for a smoother texture.
Avoid Overmixing: Once you add the flour, mix just until combined to keep cookies soft and tender.
Test Bake One Cookie: If unsure about baking time or spread, bake a single test cookie first so you can adjust before doing the full batch.
Freeze Dough Balls for Later: Shape and freeze cookie dough for up to 3 months; bake straight from frozen, adding a minute or two to the bake time.

How to Store Brown Butter Chocolate Chip Cookies:
Room Temperature: Store cooled cookies in an airtight container at room temperature for up to 4 days. For the best texture, place a slice of bread in the container to help keep cookies soft.
Refrigerator: While not necessary, you can refrigerate the cookies in an airtight container for up to 1 week. Allow them to come to room temperature before serving, or warm briefly in the microwave for a fresh-baked feel.
Freezer – Baked Cookies: Place cooled cookies in a freezer-safe bag or container with parchment between layers. Freeze for up to 3 months. Thaw at room temperature or warm in the oven at 300°F (150°C) for 5–7 minutes.
Freezer – Cookie Dough: Scoop cookie dough balls onto a parchment-lined baking sheet, freeze until solid, then transfer to a freezer-safe bag or container. Bake straight from frozen, adding 1–2 minutes to the baking time.
FAQs:
Q: Can I make the cookie dough ahead of time?
A: Yes — prepare the dough, cover tightly, and refrigerate for up to 48 hours. Chilling allows the flavors to develop and improves texture.
Q: Can I freeze the cookie dough?
A: Absolutely. Scoop the dough into balls, place on a baking sheet to freeze until firm, then store in a freezer-safe bag or container for up to 3 months. Bake straight from frozen, adding 1–2 minutes to the baking time.
Q: Can I freeze the baked cookies?
A: Yes — place completely cooled cookies in a freezer-safe container with parchment between layers and freeze for up to 3 months. Thaw at room temperature or warm briefly in the oven for a fresh-baked taste.
Q: How do I know when the cookies are done?
A: The edges should be golden brown while the centers look slightly underbaked. They will continue to set as they cool.
Q: Can I skip the chilling step?
A: Chilling is highly recommended — it helps prevent excess spreading and creates a thicker, chewier cookie with deeper flavor. Without chilling, the cookies may be thinner and less flavorful.
Q: What type of chocolate works best?
A: A mix of chopped high-quality chocolate bars and chocolate chips gives the best texture — melty pools from the chopped chocolate and structure from the chips.
Q: Why is heavy cream added to the dough?
A: Browning butter removes water content, and the cream restores some of that lost moisture, ensuring the cookies stay soft and chewy.
Q: Can I make these dairy-free?
A: Yes — substitute the butter with a plant-based alternative and use dairy-free chocolate and cream. The flavor will differ slightly but will still be delicious.
Q: Why are my cookies spreading too much?
A: This can happen if the butter was too warm when mixed with the sugars, the flour wasn’t measured accurately, or the dough wasn’t chilled long enough.
Q: Can I make smaller or larger cookies?
A: Yes — just adjust the baking time. Smaller cookies may need 8–10 minutes, while larger bakery-style cookies may take 13–15 minutes.
Q: How long will the cookies stay fresh?
A: They’re best within 2–3 days of baking, but will stay soft for up to 5 days if stored in an airtight container at room temperature.
Q: Can I add nuts or other mix-ins?
A: Definitely! Chopped walnuts, pecans, toffee bits, or even dried fruit can add extra texture and flavor.

Check out my other cookie recipes:
Make sure to tag me @wellmadebykiley on Instagram and leave a review or comment if you make these brown butter chocolate chip cookies. Happy baking!